
How to Assemble a Steel Building Kit in 5 Steps

Steel building kits are an efficient way to construct garages, barns, or workshops in Canada. With pre-cut and pre-drilled components, most structures can be assembled in 1–3 days. Here’s a quick breakdown of the process:
- Step 1: Prepare the foundation and site
Clear and level the site, pour a concrete foundation, and allow it to cure for 28 days. Organize the kit components and verify everything matches the packing list. - Step 2: Install base rails or anchors
Position and secure base rails or anchors to the foundation using anchor bolts. Ensure everything is level and square before tightening bolts. - Step 3: Erect the frame and trusses
Assemble the frame on the ground, lift it into place, and secure it. Add bracing for stability, especially for wider buildings. - Step 4: Attach wall and roof panels
Start from the base and overlap panels to create a weatherproof seal. Use insulation and vapour barriers to meet energy codes and prevent condensation. - Step 5: Add doors, windows, and finishing touches
Measure and prepare openings for doors and windows. Install them securely, seal gaps, and inspect for any alignment or weatherproofing issues.
Safety is critical throughout the process – wear protective gear, work with a team, and avoid assembly during bad weather. Following the manufacturer’s instructions ensures compliance with local codes and protects warranties. With proper planning, you can assemble a durable steel structure that lasts decades.

5-Step Steel Building Kit Assembly Process
Step 1: Prepare the Foundation and Site
Clear and Level the Site
Start by clearing the construction area of all debris, vegetation, and obstacles. It’s crucial that the site is completely level before pouring the foundation. Steel buildings are designed to transfer significant weight to specific points at each column, so even small uneven areas can lead to major problems.

Use a laser level to ensure the site is flat and properly graded. Proper grading is essential to direct water away from the building, which helps prevent moisture issues that could weaken the foundation over time. For a 30′×40′ structure, calculate the required concrete volume using the formula: length × width × thickness ÷ 27.
"A steel building is only as strong as the foundation it stands on."
Most steel buildings rely on either a slab-on-grade foundation for solid floors or pier foundations for structures like barns with dirt floors. These foundations have unique structural requirements, so it’s wise to hire a licensed structural engineer and an experienced concrete contractor. Expect foundation costs to range between $4 and $8 per square foot, which means a 1,200‑square‑foot building could cost approximately $7,200.
Once the site is prepped, you’re ready to unload and organize the building kit components.
Inspect and Organize Components
After the foundation has cured, unload your kit and compare all components against the inventory list. Double-check that every piece matches the list and is clearly labelled according to the instruction manual. Since individual arches weigh around 50 pounds, using a forklift to off-load pallets will save time and effort.
"I was pleasantly surprised to see the care and quality that went into the packaging and labelling of each building, but the true test was yet to come." – Doug Webber, Scotia Metal Products
Set aside a clear area near the foundation to organize the components in the order they’ll be assembled. Arrange major parts like base rails, wall frames, and roof arches in sequence for smoother assembly. Keep the manufacturer’s contact information accessible for quick resolutions to any questions. If you need to pause assembly overnight, make sure to brace any partially assembled sections to protect them from wind damage.
sbb-itb-747b4cf
Step 2: Install Base Rails and Anchor to Foundation
Position and Secure Base Rails
Now that your foundation has cured and your materials are organized, it’s time to attach the base rails. These steel channels, which come pre-drilled, serve as the link between your concrete foundation and the building’s frame. Precision is absolutely key when positioning the anchor bolts that secure them – this step often trips up even experienced builders.
"The number one cause of delays in steel construction is misplaced anchor bolts. If the bolts are off by even half an inch, the steel columns won’t fit."
To avoid this issue, always use the templates provided in the manufacturer’s plans when setting anchor bolts into wet concrete. These templates ensure the bolts align perfectly with the pre-drilled holes in the base rails. Steel buildings transfer a lot of weight to specific points at each column, so even a small deviation of 0.5 inches (13 mm) can cause major problems. Make sure your contractor has the bolt placement template before the concrete is poured.
Once the concrete has fully cured, position the base rails over the anchor bolts according to the building plans. If the bolts are correctly aligned, the rails should slide into place easily. Next, align the base rails as specified in the plans. Secure the rails using washers and nuts, but don’t fully tighten them yet – you’ll need some flexibility for levelling adjustments.
Level the Base Rails
Before tightening everything down, it’s crucial to ensure the base rails are both level and square. Use a spirit level to check alignment along the length and width of the rails. If you notice uneven spots, you can use metal or plastic shims to address minor irregularities in the foundation.
To make sure all sections of the rails are at the same height and in the same plane, run a string line from the front to the back of the building along the side posts. Misalignments greater than 0.25 inches (6 mm) will be noticeable. For frames that are slightly out of square, you can correct this by driving a wooden stake about 2.4 metres from the building and using a ratchet strap attached to a clamp on a post to pull the frame into alignment.
Once you’ve confirmed that the base rails are perfectly level and square, tighten all the anchor bolts completely. This step locks the base into place, providing a stable foundation for the next phase of construction. Double-check all measurements at this stage – any alignment issues will be much harder to fix once you start erecting the vertical supports. With the base firmly secured and levelled, you’re ready to move on to assembling the frame.
Step 3: Erect the Frame, Trusses, and Bracing
Assemble Vertical Supports and Trusses
Once the base rails are securely levelled, the next step is to lift the roof and wall frame assembly into place. To make this process smoother, assemble the entire unit on the ground first. This method ensures that all parts are straight and properly aligned before lifting.

Begin by laying out the frame assembly on the ground. Position the wall posts (or legs) close to the base rail risers. For smaller buildings, between 10 and 20 feet (3 to 6 metres) wide, two people can typically lift the frame manually. For larger buildings – 30 feet (9 metres) or wider – a mechanical reach forklift is essential to safely manoeuvre the frame into place.
Once the frame is lifted to a vertical position, carefully align the wall posts with the base rail risers and lower them into position. Secure the wall posts to the risers using screws. To make sure the wall posts are perfectly vertical, use a level and adjust as needed. They should be within a 0.25-inch (6 mm) tolerance. If adjustments are necessary, install a stake 2.4 metres away from the building and use a ratchet strap connected to a clamp on the wall post to pull it into alignment.
After the frame is upright and properly secured, you can move on to installing bracing, which is essential for stability.
Install Bracing for Stability
Bracing plays a crucial role in keeping the building stable, especially under wind loads or other forces. The type of bracing required depends on the width of your building. Use the table below as a guide to determine the appropriate bracing for your structure:
| Building Width | Bracing Requirement | Key Components |
|---|---|---|
| 10′ – 18′ (3 – 5.5 m) | None | Standard roof/wall frame |
| 20′ (6 m) | Type 2 (Post-Truss) | Collar tie, vertical post brace, flat brackets |
| 24’+ (7.3 m+) | Type 2 or Type 4 (Tri-Truss) | Collar tie, vertical post, diagonal tri-braces |
For buildings requiring bracing, start by marking the exact centre of the peak component and the collar-tie assembly. This ensures the braces are perfectly centred and perpendicular. Attach flat brackets to both the front and back of each connection to enhance stability. Keep in mind that the front and rear wall frame assemblies generally don’t need the same level of truss bracing as the interior frames.
After all bracing is installed, run strings from the front to the back of the building along the side bend radius. This step helps verify that all wall posts are level and properly aligned. Proper bracing ensures your structure remains secure and durable over time.
Step 4: Install Wall and Roof Panels
Attach Wall Panels
With the frame in place, it’s time to install the wall panels, a critical step for ensuring the structure is weatherproof. Start at the base and work your way upward, overlapping the panels to create a tight seal against moisture.
Use 26-gauge PBR panels for this step. According to Olympia Steel Buildings, "Our 26-gauge Purlin Bearing Rib panels are far stronger than the commonly used ‘R’ roof panels". These panels should be attached to the galvanized wall girts and C-sections using stainless steel capped self-drilling fasteners. These fasteners are designed to "resist slipping of the drill point thus minimizing surface damage".
Begin by aligning the first panel precisely with the base rail. Use a level to check for vertical alignment before securing it. Fasten the panel to the girts by driving screws evenly through the ribs, following the instructions provided in your kit. Overlap each subsequent panel as per the manufacturer’s guidelines to create a barrier against water infiltration.

In Canada, where weather conditions can be harsh, it’s recommended to add a vapour barrier with insulation between the frame and panels. Look for a barrier with a permeance of ≤0.1 perm to prevent condensation. A hybrid insulation approach works best here: combine exterior continuous rigid insulation with cavity insulation, such as mineral wool or fibreglass batts. This setup not only addresses thermal bridging but also helps meet Canadian energy codes, which typically require insulation values between R-20 and R-40 for exterior walls.
Secure Roof Panels
Once the wall panels are in place, move on to the roof panels. Proper installation here is essential for creating a durable, weather-resistant structure. Start at the roof edge opposite the prevailing wind direction. This ensures that the panel overlaps face away from the wind, reducing the chance of water being forced under the seams during storms.
Align the first roof panel with the drip edge, ensuring it has the correct overhang. Secure the panel to the purlins using screws with rubber washers, which form a watertight seal. Space the screws evenly along the panel ribs, following the manufacturer’s recommendations.
Overlap each panel carefully to prevent water from seeping through. Fill any gaps between the support fabric and roof panels with insulation to reduce condensation. Once all the panels are in place, install a ridge cap to seal the roof’s peak. Additionally, add flashing around vents, skylights, or other roof penetrations to create extra waterproof barriers. Finally, clear away any metal shavings or debris to avoid rust and potential damage to the finish.
Step 5: Add Doors, Windows, Accessories, and Finish
Install Doors and Windows
Now that your wall and roof panels are securely in place, it’s time to install the doors, windows, and accessories to complete your structure. Start by carefully measuring each opening – small shifts in panel placement can create slight variations, so precision is key. Use a laser level or tape measure to mark the positions, ensuring they align with the framing members and girts to properly support the load.
When cutting openings, use tools designed for precise sizing, and be sure to smooth any sharp edges with a file or grinder to ensure safety and a snug fit for the frames. Once the frames are positioned correctly, secure them using expansion bolts, screws, or welding, especially for heavier loads.

To keep your structure weatherproof, apply a high-quality silicone or polyurethane sealant around the edges immediately after installation. Smooth out the sealant to eliminate air pockets and create a continuous waterproof barrier. Adding flashing strips and foam closures can provide extra protection against water intrusion. In areas with high humidity or near the coast, consider double-sealing both the interior and exterior for added durability. For larger windows or heavy doors, reinforce the frames with internal bracing or plates to handle wind loads and reduce stress on the structure.
Final Adjustments and Inspections
Once the doors and windows are installed, give everything a thorough check. Tighten all fasteners and make any necessary adjustments to ensure proper alignment. Open and close the doors and windows several times to confirm smooth operation and inspect all seals, weatherstripping, and joints for any gaps that might affect energy efficiency.
After confirming the wall and roof panels are permanently stable, remove any temporary bracing. Lubricate hinges, rollers, and sliding tracks with a silicone-based lubricant – avoid oil-based products as they tend to attract dust. Check for scratches or chips in the steel caused during assembly, and apply touch-up paint or a protective coating immediately to prevent rust. Clean off any excess sealant and remove dirt or debris from surfaces to avoid corrosion over time. These final steps ensure your structure is both functional and durable, meeting your standards for quality and longevity.
How to Build a Steel Building – Complete Steel Building Construction – Start to Finish Tutorial
Safety Tips and Best Practices
Before diving into the final assembly of your steel building kit, it’s crucial to focus on safety at every step. Working with steel involves unique risks, so wearing the right protective gear is non-negotiable. Equip yourself with an OSHA-approved hard hat, safety goggles with side shields, heavy-duty cut-resistant gloves, steel-toed boots with non-slip soles, and long-sleeved flame-resistant clothing.
"Steel’s heaviness, sharp edges, and spark generation increase handling risks during cutting, welding, or grinding." – Steel Supply LP
Once you’re geared up, teamwork becomes your next line of defence. Handling heavy materials like steel beams and panels is not a solo job. Always work with a partner or a team to ensure safety and efficiency. For instance, Doug Webber from Scotia Metal Products in Burnside, NS, shared his experience assembling a 20×20 standard carport. While he could prepare the frame solo in 25 minutes, having a helper to stand the frame and sheet the building made the process much safer and faster. Every team member should be well-versed in proper lifting techniques and wear the necessary protective equipment.
Stability is key during assembly. Begin with a solid foundation – such as a poured concrete slab – to anchor your structure securely. As you place the initial frame, add horizontal supports right away to maintain stability. Weather conditions also play a big role in safety. Avoid working during high winds or rain, as metal sheeting can act like a sail in the wind, and wet surfaces can become dangerously slippery. Always have a first aid kit, emergency contact numbers, and directions to the nearest medical facility easily accessible at the job site.
Another important tip: clean steel panels of any protective oil or wax before installation to prevent slips. And remember, never use electrical tools on wet surfaces. If you’re unsure about custom features or have technical questions during the assembly, reach out to Canadian Buildings for expert advice. Following these safety guidelines ensures a smoother assembly process while protecting both your team and your investment.
Conclusion
Building your steel structure can be broken down into five main steps: preparing the foundation, installing base rails, erecting the frame and bracing, attaching the panels, and finally adding doors, windows, and finishing touches. Careful preparation and following the manufacturer’s instructions are key to ensuring your building meets local engineering standards. By sticking to this process, you’ll end up with a reliable, code-compliant structure.
Prefabricated steel kits are designed for efficiency and ease. Thanks to pre-cut, pre-drilled components and detailed instructions, even those with limited construction experience can assemble a medium-sized building in just two to three days after the foundation is ready. Doug Webber from Scotia Metal Products summed it up best after putting together his own structure:
"I have been in the steel structure construction business for almost 30 years… the entire building went together like your video shows, IT REALLY IS THAT EASY".
As highlighted in the guide, safety and precision are critical. Ensure frames are square, avoid fully tightening bolts until the structure is complete, and brace unfinished sections. These steps help prevent errors and ensure your building performs as intended for decades.
Canadian Buildings offers steel building kits that are durable, simple to assemble, and suited for garages, workshops, barns, and commercial spaces. With warranties lasting up to 40 years, resistance to fire and pests, and minimal maintenance needs, these kits are a smart, long-term investment. Whether you’re working on a small weekend project or a larger agricultural structure, the combination of high-quality materials, clear instructions, and expert support makes the process straightforward and satisfying.
FAQs
What permits do I need in Canada before assembling a steel building kit?
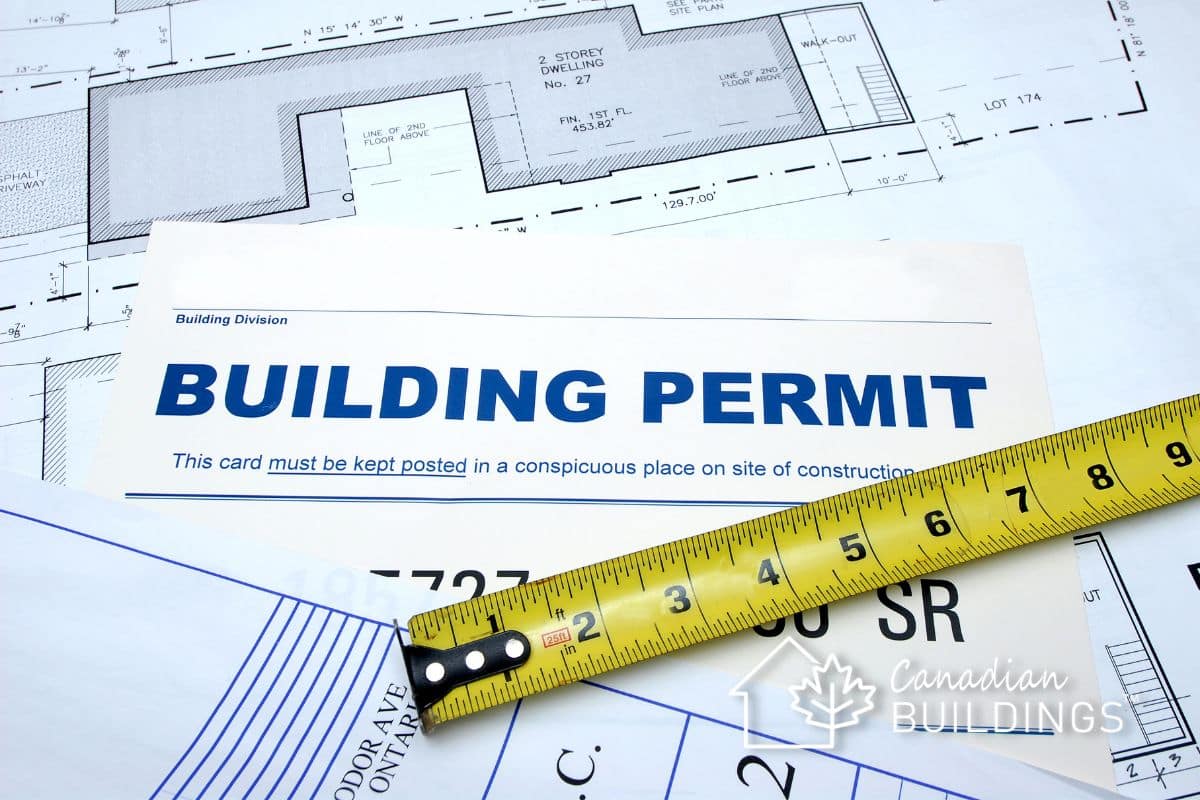
Before putting together a steel building kit in Canada, you need to obtain the required permits and comply with local building codes. Generally, this involves securing a building permit that aligns with the National Building Code of Canada (NBCC) as well as any regional modifications. You may also need to adhere to standards such as CSA S16 – Design of Steel Structures. To ensure you’re meeting all the rules for your area and project, reach out to your local building authority for detailed guidance.
What tools and equipment do I need to assemble a steel building kit?
The tools needed to put together a steel building kit are pretty straightforward and easy to come by. You’ll generally need basic items like wrenches, screwdrivers, and hammers. These simple tools are usually enough for most DIY assembly projects, making the process approachable whether you’re a first-timer or a seasoned builder.
How do I prevent condensation and meet insulation requirements in my steel building?
To tackle condensation and meet insulation standards, focus on managing moisture and ensuring effective thermal performance. Incorporate materials such as vapour barriers to help regulate indoor temperatures and limit moisture accumulation. Additionally, maintaining proper ventilation is key to reducing condensation and prolonging the durability of your building. Adapt your strategy to suit the building’s intended use and the local climate – especially in colder areas like Canada, where temperature fluctuations can pose greater challenges.